Whenever you want to represent drawing symbols on your drawing – like a door, a window, a bolt, among others – you´ll need to create AutoCAD blocks.
An AutoCAD block is, in simple terms, a collection of drawing entities grouped as a single object. Thus, when you are composing your drawing, you will be able to save a lot of time by using your previously created AutoCAD blocks on it, avoiding continuous redrawing of your drawing symbols.
Using a block in an AutoCAD drawing has a lot of benefits. Here we can enumerate some:
- Faster (and easier) drawing by keeping a block library of frequently used drawing symbols, that you can insert into a drawing.
- Being a single object, grouping several drawing entities, you can insert, copy, move AutoCAD blocks rather than individual entities. This means Efficiency!
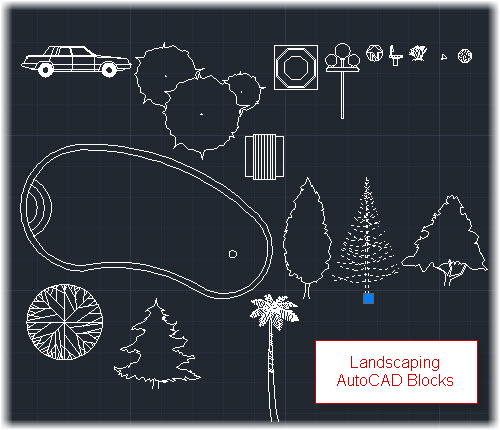
Where can you find AutoCAD blocks?
Simple answer: The World Wide WEB is, for sure, a great source for any kind of drawing symbols to be used with AutoCAD.
Of course, AutoCAD also includes a lot of standard blocks in the Sample/DesignCenter folder:
But instead of looking for blocks, what we´ll learn in this AutoCAD tutorial is how to create your brand new AutoCAD block. So let´s get started:
1 First of all, you´ll need your drawing symbol drawn in a new AutoCAD drawing. In our example we´ll be creating a simple one: an “I” steel beam: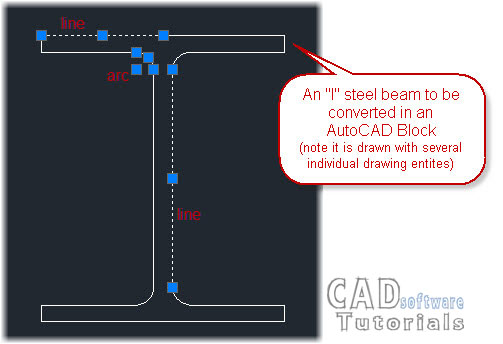
Note that, at this time, all we have is some individual drawing entities (lines and arcs).
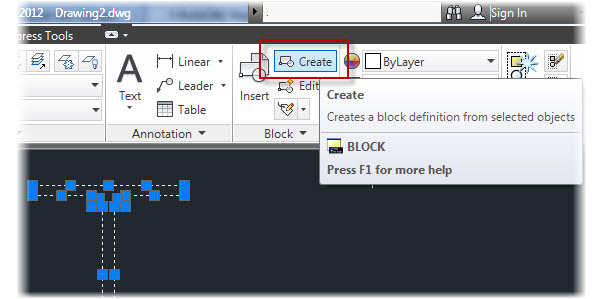
2 Now you´ll need selecting all entities that will become an AutoCAD block. In our example drawing we´ll select all drawing entities (as they are all we have drawn so far). So, using Ctrl+A AutoCAD keyboard shortcut, we are done! 3Click on Home tab→Block panel→Create: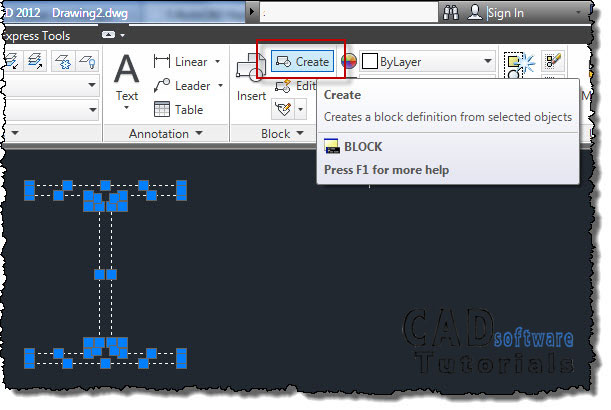
To show the Block definition Dialog. This dialog, besides Name field, has some options that can help you using AutoCAD blocks easier. Let´s review some of them:
Base point group:
The base point in a block is its insertion base point; it will be used as an drawing object’s grip. By default it has coordinates 0,0,0 but you can specify it via keyboard or picking an insertion point in the current drawing.
Objects group:
This group gives you options to select objects to convert into a block and sets if, entities into an AutoCAD block, remains (Retain) in the drawing, will be deleted (Delete) or are simply converted (Convert to block).
Behaviour group:
Here you can set your block as Annotative (this feature allows AutoCAD to adjust the size of the block for different scale views available in a drawing), to scale it Uniformly (AutoCAD blocks can have different scales in X, Y and Z coordinates. Setting this option to true, the block will be scaled uniformly) and Allow the block be exploded (that is, reduced to its component entities once it´s created).
Now, let´s go back to our block creation tutorial:
4Our block will be named IBeam-200, so this is the text to introduce in the Name field. As Base Point we’ll pick the bottom flange midpoint so, click on Pick point to go to drawing window and select it (remember set OSNAP on):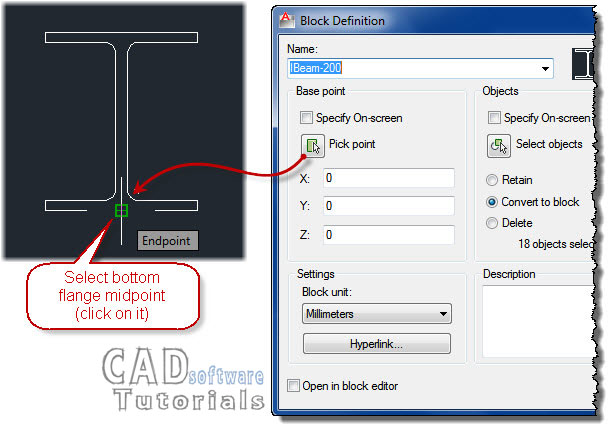
After clicking on selected base point, Block Definition dialog reappears. X, Y and Z value fields now displays the coordinates of the selected point.
5 Block unit will be Millimeters, in Description field enter “Steel I Beam”. We´ll select Retain to keep original entities in our drawing. Finally, our Block Definition Dialog has this settings: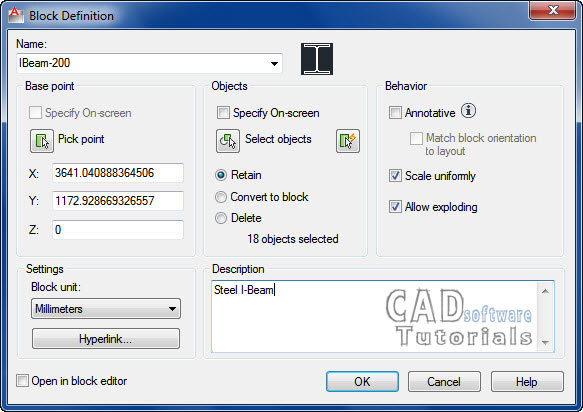
Click OK to close dialog and let AutoCAD create our new block.
Inserting an AutoCAD block
After AutoCAD block creation you won´t see any changes in your drawing because we selected the Retain option, so original entities remains in the drawing.
But if you click on Insert button from Block panel, Home tab, you´ll find our new block ready to be inserted into this drawing:

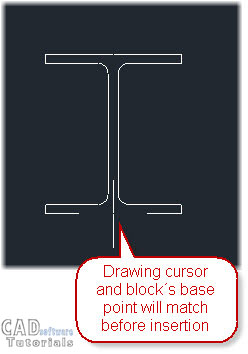
Clicking OK in Insert Dialog allows you to insert selected block in the drawing. Note that a “preview” image will be attached to drawing cursor. That´s our block!, matching its base point with cursor position. Just click on drawing area and you´ll see a new AutoCAD Block!